In order to fabricate thin plastic parts, the most frequent process used is injection molding.
Regardless of the uses and applications for the parts that are made, the mechanisms for its fabrication remain pretty much the same, and the following materials are necessary:
- Injection molding machine, responsible for both the heating and injection of the plastic into the mold.;
- Raw plastic material, that throughout the whole process will melt, solidify and cool into the finished part;
- A mold, into which the melted material is injected, and that gives the output the desired shape.
The overall injection molding process requires plastic to be melted inside the injection molding machine. Once this is done, it’s poured into the mold so it can cool and solidify, finally turning into the desired end product. Injection molding involves four distinct phases – clamping, injection, cooling and ejection. Post processing can also take place.
Injection Molding Clamp Pressure
For thin walled and high-aspect ratio plastic parts, there are two injection-compression types. The first method involves the use of a moving side-core, in  the form of a secondary cylinder that spaces the cavity. Due to the high pressure applied, both parted surfaces tend to expand outwards, so it becomes crucial to use clamps towards the opposite direction – forward – to compress this part, leaving it stress free and keeping it from opening. This method usually demands a particular ability of this press.
The second type, often known as coining, shuts the mold when it’s under reduced clamp-pressure, so that the mold can be injected with the material.
The injection stage happens when the raw material is put into the injection molding machine and poured into the mold along with the injection component.
Once you fill the cavity to maximum pressure, and the pressure put by the clamps is overcome, this injection has a filling speed that comes close to zero, and then proceeds to pick up, upwards between 10% and 20% of the speed, so the crossover can hold.
A method such as this normally requires that both the clamping and injection systems are repeatable.
Because of this, dial indicators are utilized to oversee the clamp breathing-stroke.
While the material is injected to hold, and the shrinking process starts, the clamp usually follows the melting movement, without shutting completely.
We have used this particular process for more than 25 years and have been able to yield 0.55 mm thick X 120 mm diameter center-gated parts. The mechanisms that make up this process significantly reduce the flatness, uniformity, thickness, and stress. However, the overall weight of each individual part can change, depending on the repeatability as well as press control that are applied.
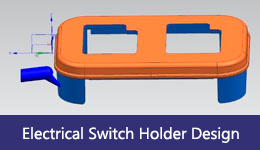
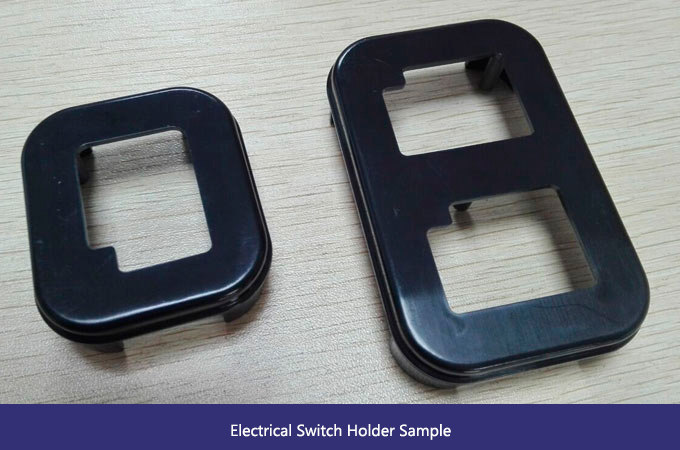
For certain designs, and electrical switch holders in particular, it’s typical to apply a 7-degree draft-angle on the dividing line.
This avoids flashing as the injection-compression stroke process takes place, depending both on the material that’s being used, and on the standards for edge definition.
Other critical-control parameters during this process include melting viscosity, plastification, and pellet size uniformity, since the cushion is usually much lower as compared to the case with common straight injection, so as to avoid shot to shot variance.
Cooling, Ejection and Post Processing
Once the material touches the interior of the mold, it immediately starts cooling down.
This is how the plastic solidifies and gains the desired shape, and while shrinking may take place, packing the material during the injection process allows  for the amount of shrinkage to be less noticeable.
It’s very important that the mold remains shut during the necessary cooling period, and only opened once it has ended.
After the cooling stage is completed, the part is ready to be ejected, with the help of a mechanism that is hooked to the back of the mold, that pushes it out once the mold is opened.
This process demands a certain amount of force, and if it becomes troubling, a spray can be applied to the cavity in order to simplify the ejection.
After the ejection is done, the mold is ready for clamping so the next shot can be administered.
Following the entire injection molding plastic process, it’s normally necessary to incur in some sort of post processing.
Some common defects that may arise include warping, bubbles, sink or ejector marks. Also, because some leftover materials can adhere to the mold during the cooling process, and stay attached to the part, trimming is put in place with the use of cutters.
This is a very delicate ordeal, and the last step to ensure the parts come out looking flawless and flash-free.
LOXIN, professional plastic mold manufacturer in China, we focus on design and manufacturing plastic molds for the Automotive, Home Appliances and other sectors.


 High-Quality-Mold-Design-Engineering-Suppliers-in-China-LOXIN-MOLD


